by Disney Magic Diva
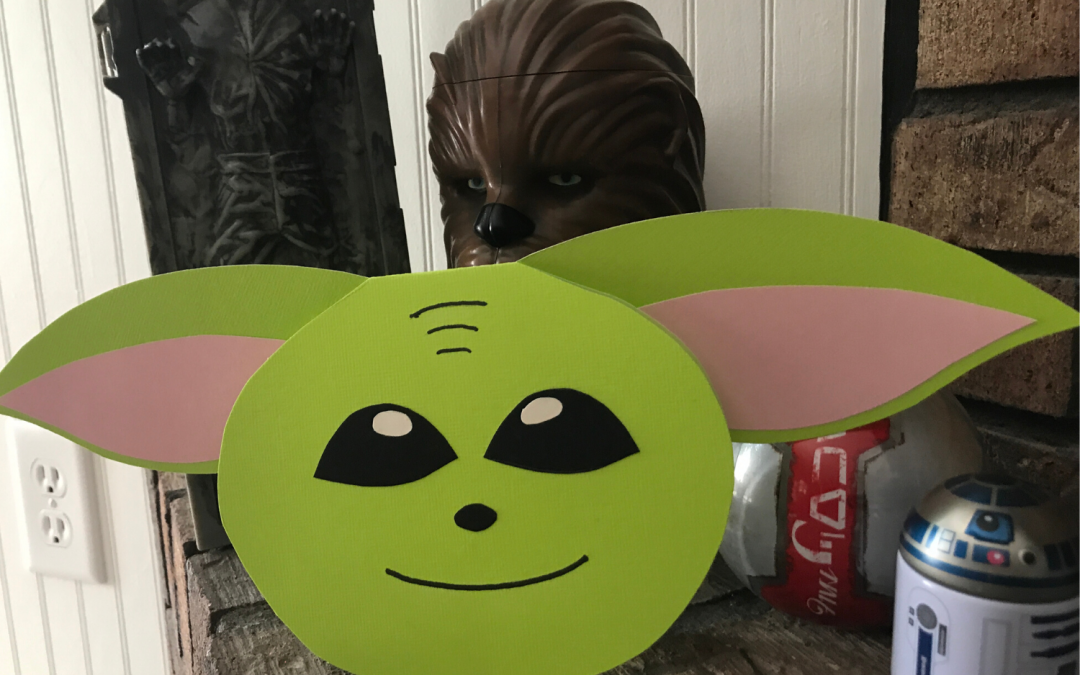
 Who doesn’t love Baby Yoda? The adorable character officially known as The Child from The Mandalorian has captured hearts of not only Star Wars fans, but, well, everyone! So whether you’re a member of the Resistance or the First Order, here’s how to make a simple Baby Yoda card certain to brighten even Darth Vader’s day.
Materials
- Green paper
- Light pink paper
- White paper
- Scrap paper
- Pencil
- Black sharpie
- Scissors
- Glue
Create a pattern
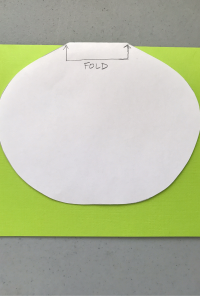 Think about how big you want the finished product to be. I knew I was just going to be handing my card to someone, so I wasn’t overly concerned with size. (Mine is about 14” from ear tip to ear tip.) If you will be mailing your card or need to place it in an envelope, keep in mind what size envelope you have available.
To create a pattern, start with the face. Fold your scrap paper in half, and then draw an oval shape with the fold at the top of the forehead. This will allow your card to open. Mine was about 6” wide and 5” tall, just for reference.
Next, create an ear pattern. Don’t make it too complicated. Just start drawing ears until you find a size and shape you like. Mine ended up being about 6.5” long and 3” wide at the widest point.
Now you’ll want to create an inner ear pattern (the pink part). To get this shape, I made another ear out of scrap paper, then just cut it smaller. This allowed me to keep the same shape of the curve along the bottom of the ear.
Do a quick search online, and you’ll see many versions of The Child, each seemingly with a different shape for the eyes. The great thing about DIY crafts is you get to decide what shape you like! Some are true circles, some more almond shape, and some a combination of the two. I chose the combination version.
You also may want to make a pattern for the white “highlight” of the eye. Again, choose whatever shape appeals to you. I’ve seen two circles, one circle, ovals, and those without any highlight. Experiment and see what you prefer.
Finally, you can make a pattern for the nose. I basically used the same pattern for the white eye highlight and the nose. An even easier alternative would be to just draw the nose with a sharpie. It can be an oval, circle, or just whatever squiggle you like. Be creative!
 Assembly
Once you have pattern pieces you like cut from scrap paper, it’s time to start assembling your card.
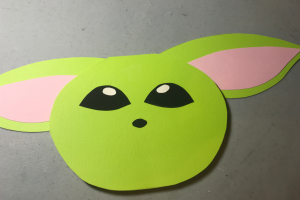
Using the pattern, cut the face, ear, pink inner ear, eyes, eye highlights and nose. Be sure to fold the paper and lay your pattern on the fold for the face, or else you won’t be able to “open” it and have a card.
I used cardstock for my pieces. You can just as easily use construction paper or colored paper, but it will be a little more flimsy.
Start by gluing the inner ear pieces to the ears. Then glue the ears on the backside of the folded face piece, so they are glued to the back of the card. Next, if you made highlights for the eyes, glue those onto the eyes, then place the eyes and nose on the face. Decide where you like them, then glue. Play around with the placement until you find a position you like. Use the sharpie to draw a mouth and forehead lines.
 Message
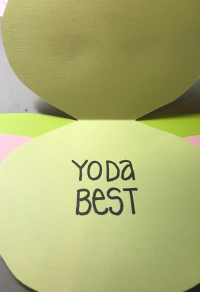
Finally, you can print a message inside your card. Of course, if you prefer to leave it blank so you can just write whatever note you would like to the recipient, that’s great. But if you’d like a greeting message, I love “Yoda Best.” It’s perfect for really any occasion, and a fun play on words. Suitable as a thank you, graduation, birthday, anniversary, Mother’s Day, Father’s Day, or just because! We could all use a little affirmation in our lives right now, and what better way to show someone you care than with an adorable hand-made card?
I’d love to see the card you created! Be sure to post photos in the comments! This really is simple – no need to be a Jedi Master to make this card. A padawan can easily create it!
When you’re ready to travel to Galaxy’s Edge, be sure to contact Patricia at All for Dreams Travel. She provides expert advice, and her service is FREE!
***Disclaimer – We at Tips from the Disney Divas and Devos hope you enjoy reading our articles and encourage you to share any you feel may be of interest to someone else. We do ask, however, if you choose to share the photographs attached to our articles, you give credit to the photographer. Thank

