by Fancy Free Diva
You’ve seen them in the parks and on Etsy- those super cute matching Disney t-shirts that look oh-so-adorable and oh-so-expensive. And you know you want them for your next trip. The good news is that they’re easier than they look. All it takes is a trip to your local craft store, and viola! You’ve got your next holiday card photo ready to go.
Here’s what you’ll need. First, start with the t-shirts. I purchased mine at our local craft store on sale in a 4 for $10 deal that just couldn’t be beat.
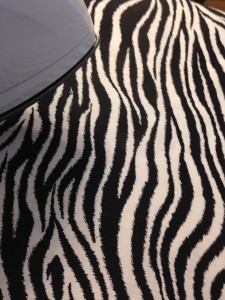
Once you have your t-shirts, you’ll need some fabric. We made our shirts for a day at Animal Kingdom, so I went with a zebra print. For a more classic design, you might try a chevron or polka dot print. I also found a super cure macaroon print that I made into a shirt for my sister; they’re her favorite treats in Epcot’s France pavilion at Les Halles Boulangerie Patisserie.
Diva Tip: Be sure to pre-wash and dry both your t-shirts and your fabric before you start working with them. This will help make sure your end product won’t shrink after you wear it to the parks!
Bonus Diva Tip: Once you’ve washed and dried your t-shirts and fabric, iron them! You don’t want there to be wrinkles marring your finished product. This extra step is definitely worth your time and elbow grease.
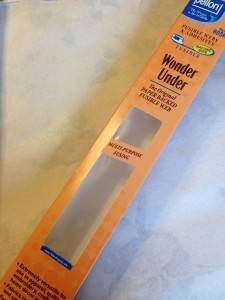
After t-shirts and fabric, you’ll need some fusible webbing. Be sure to purchase the sewable kind. I used Wonder Under, but there are other brands available. Just be sure that the kind you get is both adhesive and sewable. It will make your project sew much easier!
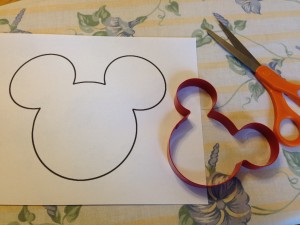
Once you get everything home, you’ll need to find a Mickey head outline. There are plenty available online, the only trick is getting one that’s the right size for your t-shirt. I ended up using my Mickey head cookie cutter for my young son’s t-shirt, and I re-sized an Internet image for the other shirts.
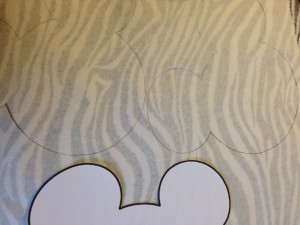
Using the Mickey head outline as a guide, cut a piece of fabric big enough for all of your Mickey heads to fit. Once you’ve cut the fabric, you’ll need to iron the fusible webbing onto the back side of the fabric. There will be specific directions on the fusible webbing about how to do this and how hot your iron has to be. Follow these directions carefully; it will save you hassle later.
Diva Tip: Be sure that the rough side of the fusible webbing matches up with the back side of the fabric. Double check this before you begin to iron, otherwise your fabric will be ruined.
Bonus Diva Tip: I find it easier to iron the fusible webbing onto my fabric before tracing and cutting out my design. The paper backing of the fusible webbing makes it easier to trace onto than fabric, and cutting the design on the webbing makes it easier to peel off the paper backing to reveal the adhesive underneath.
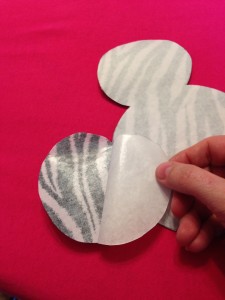
Once the fusible webbing is ironed on, carefully trace your Mickey head design, and then cut it out. Once you have cut your design, peel off the backing so that the sticky side can adhere to your t-shirt.
Place it carefully where you’d like the design to go on the shirt, then it’s back to the iron. Again, you’ll want to refer specifically to the directions that come with the fusible webbing you’re using, but this is one time when patience is definitely a virtue. Take your time fusing your design to your t-shirt; it will make your design more permanent.

The fusible I used required a hot, dry iron, and I had to place a damp towel between the design and the iron to help set the design. Your fusible may have different directions, though, so read them carefully before proceeding.
Once your design is fused on, I find it helpful to get out the sewing machine and carefully stitch around the edges of your design. Most fusible webbing will fix your design in place pretty permanently, but taking the extra step of stitching around the edges insures that your t-shirt will last not only until the park closes but to infinity and beyond.
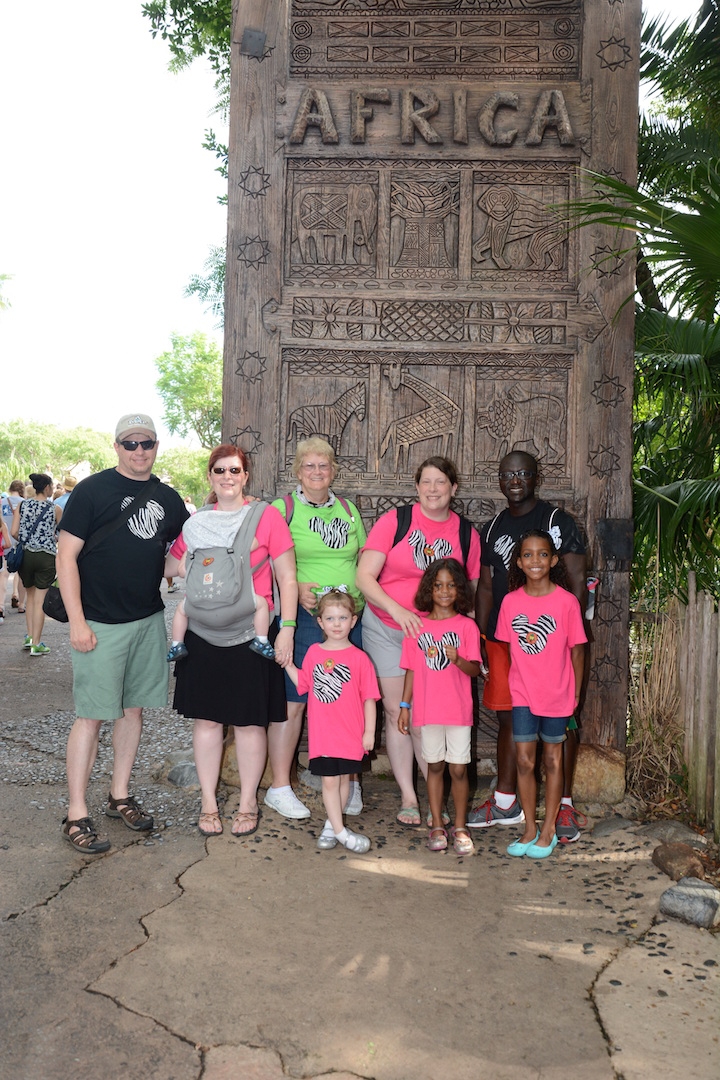
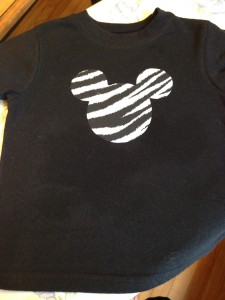
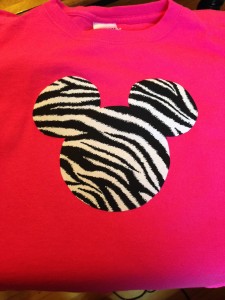
Here are the finished products:
What will your t-shirts look like?
***Disclaimer – We at Tips from the Disney Divas and Devos hope you enjoy reading our articles, and encourage you to share any you feel may be of interest to someone else. We do ask, however, if you choose to share the photographs attached to our articles, you give credit to the photographer. Thank you for your cooperation and sharing our love of Disney!
