By Pink Diva
You have planned your trip, started your countdown and now you are wondering what to wear. There is always the option to purchase Disney clothes through retail stores, Disney stores and if you’re lucky, thrift stores. But maybe you want something different. Or you want everyone to have coordinating shirts. Whatever the reason, you are considering making your own shirts. Have no fear! I have scoured the internet and Pinterest and tested the most popular methods.
Thanks to Pinterest I think I can do all the wonderful projects on their site. Some have actually turned out pretty good (homemade dog treats!) others not so much (easy, no-sew bows=big fail). I like to consider myself crafty, but honestly I’m really good at planning to be crafty. I did take on four of the biggest DIY shirt projects and put them to the test. Hopefully one of these methods will help you make your Disney trip a little more magical.
Tip: This is a fun way to let your family know you are going to Disney!
1. The Bleach Method. Skill level: Advanced
What you need:
- Shirt
- Stencil
- Bleach
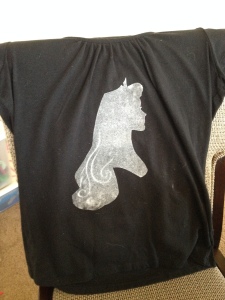
The bleach method is tricky. I’ve done it twice. Once worked out better than expected. The second time the bleach ate my shirt. Basically you put the stencil on the shirt and use the bleach to highlight the stencil. You can paint the bleach on, spray it on with a spray bottle or use a bleach pen. The tricky part of this method is not getting the bleach to bleed. Simple stencils work best. You have to keep the stencil tight against the shirt to reduce bleeding. Ironing a freezer paper stencil to the shirt helps keep the bleach from spreading.
Tip: Customize your shirt by the park. Mickey or Minnie for the Magic Kingdom, animal prints for Animal Kingdom or sea themes for a cruise.

The one that didn’t turn out. The bleach bled through, so I used a fabric marker to outline Sleeping Beauty. By the next morning the bleach had eaten holes all through the shirt.
2. Painting a Shirt with a Freezer Paper Stencil Skill level: Beginner-Intermediate depending on the stencil.
What you need:
- Shirt
- Paint
- Paint brushes
- Freezer paper
- Printer
- X-Acto knife or scissors
- Iron
- Ironing board
This method was surprisingly easy and fun. Find a stencil online and print it out. A silhouette or stencil with little cutting is ideal. Trace your stencil onto the freezer paper. Cut out the freezer paper using your X-Acto knife or scissors. Iron your freezer paper stencil onto the shirt. Paint away! I removed my freezer paper stencil while the paint was still wet and the lines came out clean. This is easy enough for kids to help with.
Tip: Customize your shirts if you are celebrating. Let everyone know it’s your birthday, anniversary or family reunion.

Painting my stencil. I painted on both the shirt and the freezer paper to see if the lines would be crisp. They are!
3. Felt or Fabric Method Skill level: Beginner-Intermediate due to cutting
What you need:
- Felt or Fabric
- Fabric Glue
- Scissors
- Cutting Machine (optional)
- T-shirt vinyl (optional)
- Wonder Under (option, but makes this process easier)
- Iron (optional)
- Ironing board (optional)
- Accessories (optional)
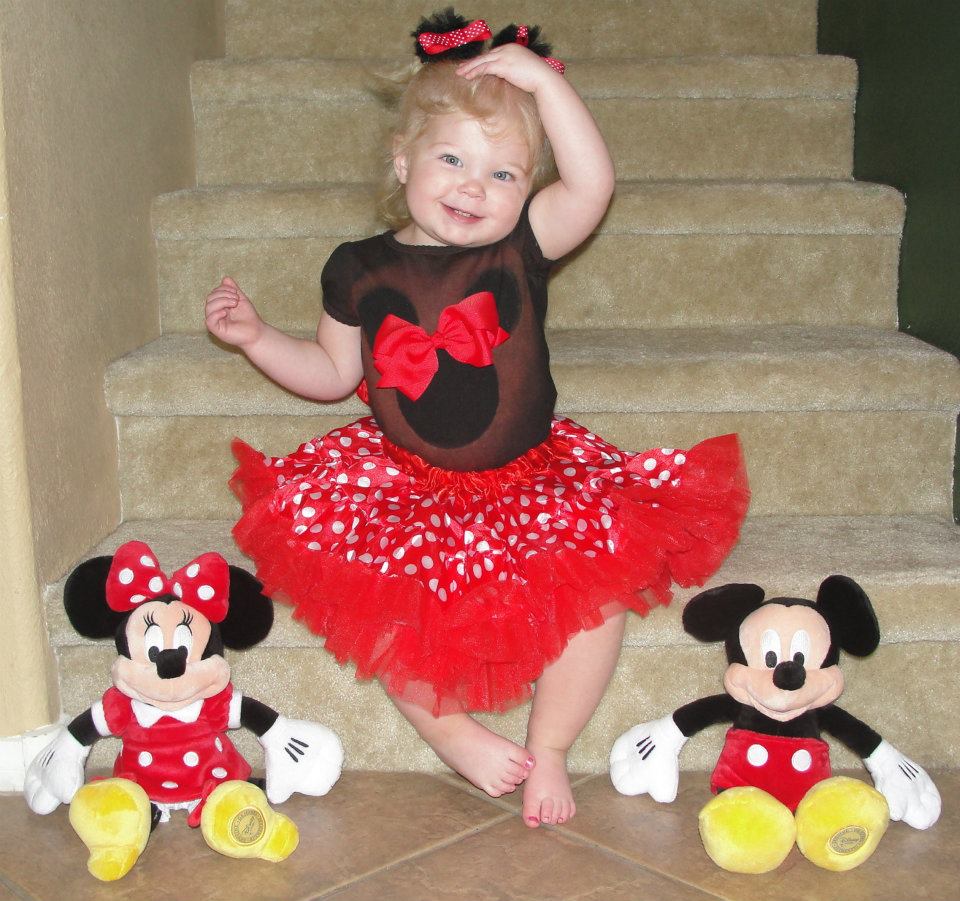
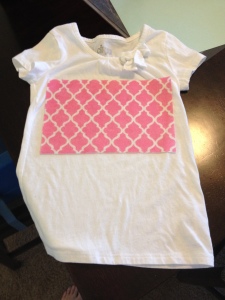
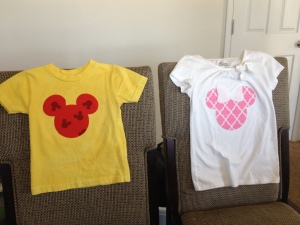
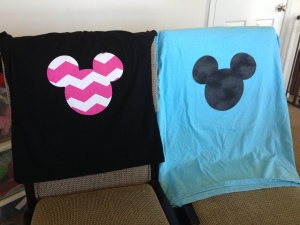
I was lucky enough to have a friend with a cutting machine come over and help, but this can easily be done by hand. Pick out your design. I like classic Mickey or Minnie [BOOK] heads for this one. Pick out your fabric or felt, cut into desired shape and attach to shirt. If you are using the Wonder Under, I highly recommend ironing the Wonder Under to your fabric or felt. Cut out your shape and iron onto your shirt. The fabric worked great with the Wonder Under. The felt didn’t iron on as well, so I used fabric glue to keep it in place. If you have a cutting machine you can cut out t-shirt vinyl and increase your designs, easily add names, and quickly make custom shirts. I added a felt bow to a Minnie shirt and added the kids’ names to personalize them a little more.
Tip: If you put names on the shirts Cast Members may call you by your name. This could confuse kids if strangers know their names. This may be fun while at Disney, but not necessarily in the “real world.”

Ironing my Wonder Under onto the felt and fabric.
4. Iron-on Transfer Skill level: Beginner
What you need:
- Iron-on transfer kit
- Iron
- Ironing board
- Computer and Printer
This was probably the easiest method. I bought a kit from the store and followed the instructions. I really wanted a Sleeping Beauty shirt after the bleach disaster. I found the design online and uploaded it to the transfer kit’s website. I printed the design onto the transfer paper, cut it out and ironed it onto my shirt. That’s it!
Tip: Think ahead. Holiday cards, thank-you cards, or birthday cards can be made special by adding a photo of your family at Disney in your custom shirts!
The hardest part about making shirts yourself is finding solid color shirts for a reasonable price. You can always find them online through Amazon or store websites. Hobby Lobby has a great selection of solid shirts for adults, kids, and babies. I found toddler sizes 18 months-5T are the hardest to find. Walmart’s Garanimals line usually contains solid color shirts. If all else fails, buy white shirts and dye them! I had to do that for a few of the toddler shirts I made.
Tip: DIY shirts are great gifts as well! Surprise your family when you get there with new shirts. Give them to newlyweds who are honeymooning to Disney. These are easy projects for birthday party favors.
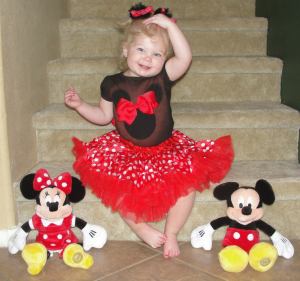
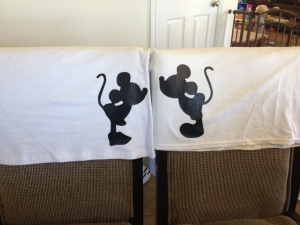
While I only tried a few methods of DIY shirts, there are other ways. Tie-dye is another popular option, but I’m not good at it. I tried in grade school, camp, family vacations, you name it. They always come out a little funny, so I have sworn off tie-dye. Good luck and happy crafting! Here are a few of the finished t-shirts.








Great ideas!