by Character Diva
Disney autograph books are great. I had one when I was a kid, and bought one again when I was in high school for Disneyland’s 45th anniversary. Seeing my love of characters (there is a reason I’m Character Diva after all), it made sense that I would also buy autograph books for my own children. But while autograph books can be a fun way to interact with characters, they are also something that generally sit on a dresser or shelf collecting dust (if you don’t lose them all together). And while there are fun and creative alternatives to autograph books, I decided to try a different approach for one of my latest Disney vacations and go with an autograph quilt.
Now let me begin by saying, I cannot sew to save my life. Even using a sewing machine, my stitches end up crooked. But fortunately, my mother is quite talented, and so I recruited her to help with yet another one of my projects.
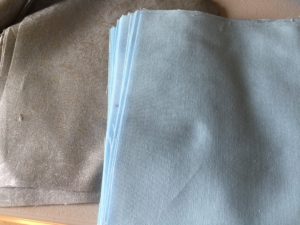
To begin with, we had to decide what colors to use. I chose blue (because it was my favorite color and my mom had a lot of leftover fabric from my Disney themed wedding reception banners) and silver because I wanted to do something to commemorate Disneyland’s 60th anniversary.
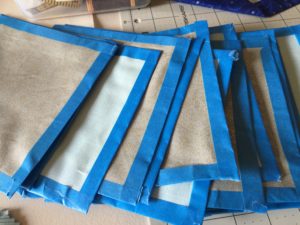
Once we had the fabrics chosen, it was time to cut them into squares. My mom cut them into 6.5 inch squares. Then she taped the edges to keep them from fraying and sent them back to me.
With the squares cut and prepped, it was almost time to collect the autographs. I knew I would need fabric markers for the characters to use, and I decided to go with blue for the silver squares and black for the blue squares. I also needed a place to store the autographs, where I’d be able to keep tabs on which squares I had already used, and which ones were still available. For this, I chose a clipboard that had a storage compartment to hold all of my fabric squares, and I kept two freezer bags inside (one for the unused squares and one for the finished ones).
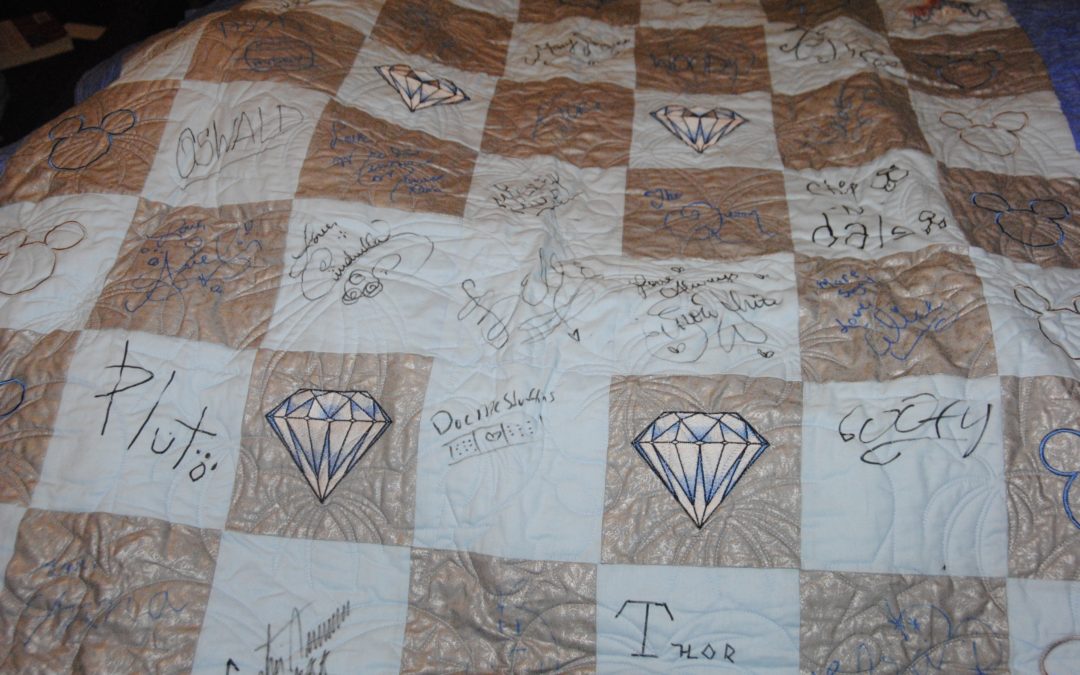
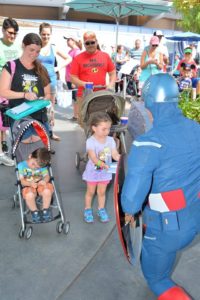
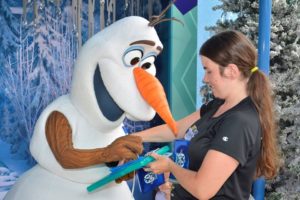
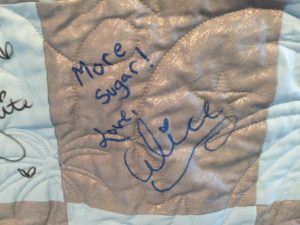
As far as collecting autographs in the park went, it was fairly simple. The characters were very gracious, and several characters or other cast members asked what I was using them for. Thor wanted to know where his autograph was going to be placed, so I said the middle, which seemed to work for him. Disney Diva Tip: A bonus of doing an autograph quilt as opposed to your average autograph book is that the characters often add embellishments or write more. For example, when my kids had Alice sign their autograph books, she wrote “Love, Alice” but for the autograph quilt, she wrote: “More sugar! Love, Alice”. While it’s not a lot, I appreciate the extra effort and making it more memorable.
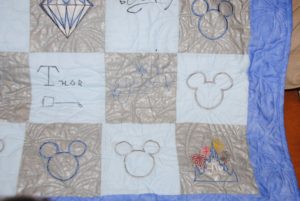
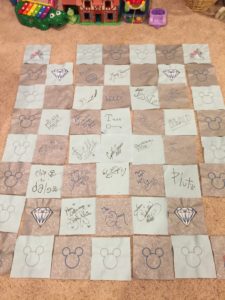
Once we had the autographs, it was time to iron them on high heat to set the ink. Then it was time to arrange the autographs into a layout that I was happy with. Unfortunately, Chip and Dale had signed the same autograph square (in the exchange of all of the autograph books, I didn’t have time to intervene), and also, Russell’s character handler informed us Russell would not be signing autographs because he was still working on learning how to write his name. (Really, a lame excuse for someone who is a Senior Wilderness Explorer… at least he could’ve said something like he had to go find some chocolate to give to Kevin or find a snipe for Mr. Fredrickson, but I digress.) Anyway, this left us with an uneven amount of squares that couldn’t be arranged into a perfect square, but we were still able to design it in a way to use all of the squares and make it work. Disney Diva Tip: One thing my mom did to make the quilt a little more unique, is embroider certain blank squares with either castles with fireworks in the background, Mickey Mouse heads, or diamonds on them to represent Disneyland and it’s 60th anniversary. This helped fill in some of the empty space, and also gave the quilt a little more “character”.
Another problem we had with arranging squares was trying to figure out how to arrange them by themes. Did I put all the princesses together? All of the face characters? All of the Pixar characters? And what about Mickey and his pals? Because some characters had been written on the same color block while others had been written on opposite colors that was also a factor to take into consideration. After much rearranging, I was happy with how mine turned out, but however yours turns out, I’m sure it will have all kinds of awesome Disney magic. Disney Diva Tip: If you have the official Disneyland or Disney World app on your phone, you can kind of get an idea of which characters will be out and about and when and where to find them. The app isn’t always 100% accurate (for example, on our last trip in September, I saw several villains walking around who were not listed on the app, and Tinkerbell’s fairy friend at Disneyland’s Pixie Hollow is not mentioned either, nor are the characters in the Disney Visa Meet and Greet, and another time, I had to ask three cast members where to find the Evil Queen from Snow White who wasn’t located near where she was supposed to be meeting, and we stumbled across her by chance just as we were about to give up), but it will give you a general idea of what characters to keep an eye out for, and this may help you decide in advance on possible design layouts.
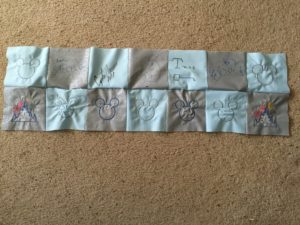
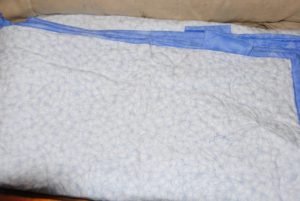
Once the layout was finished, it was time to sew the squares together. My mom first sewed the squares into long horizontal strips, followed by long vertical strips. Once it was all sewn together, my mom sent it off to her quilter. When it came back, my mom had to cut the binding and sew the binding around the edge of the quilt. She also chose a lighter fabric for the backing since my plan was to hang the quilt on a wall as opposed, to something with a fancy print design or a heavier fabric, which you might like if you actually plan to keep it as something to snuggle up under while watching your favorite Disney movie or flipping through all of your Disney vacation photobooks. If you do plan on hanging your quilt on a wall, while sewing the binding, cut two or three four inch squares to make for an unseen hanger to put a rod through. Then fold the hanging rod squares in half and sew them into the binding as you’re binding the quilt. Disney Diva Tip: You may also want to tack the bottom corners of the squares down to keep them from flipping up as you slide the rod through.
If you’re ready to test out your autograph quilt and book your next vacation, we recommend contacting Patricia Payne from All for Dreams Travel! Because she is compensated by Disney, her services are FREE to you, and she can help answer more of your questions, or make any reservations needed, such as hotel, transportation, tickets, dining and more! All for Dreams Travel is an Independent Agency with Gateway to Magic Travel, an Authorized Disney Vacation Planner.
What unique autograph ideas have you come up with? Have you ever done an autograph quilt before? We would love to see pictures or hear all about it in the comments below. Happy planning!
